
Christmas is round the corner and there’s a lot of fun stuff that you can plan for the big day. But what if you stayed at your cozy home during the chill winter breeze outside this time and did some super fun resin project?
It is your chance to reflect the beauty of Christmas with your resin skills by building an enchanting and colorful resin Christmas tree. Scroll down to find the supplies and instructions for this heart-warming project.
Supplies Needed
Following is the list of things you need to make your beautiful resin Christmas tree:
- Silicone Christmas Tree Mold
- Epoxy Resin
- Bright Gold Mica Powder
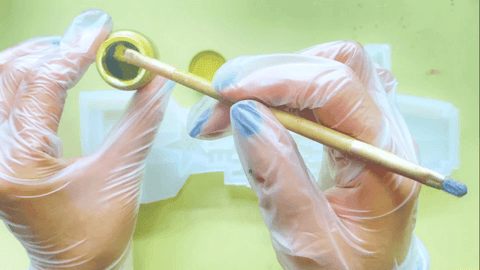
- Flat Paint Brush
- Golden, Crimson Red, Orange, Yellow, Dark Green, Azure Blue, Sky Blue, and Purple Fine Glitter Powder
- Toothpicks
- Ball-tip Needle
- Small Cups with Thin Spouts
- Gloves
Step-by-step Instructions
Below are the detailed instructions that you need to follow to make a lovely resin Christmas tree:
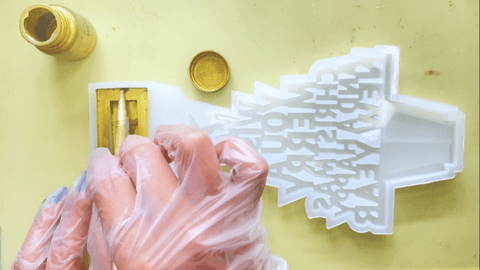
Prepare the Base of the Christmas Tree Mold
Start by applying the base coat to the mold. Do this by dry brushing the mold with bright gold mica powder with the help of a flat paint brush. Do not take too much mica powder one time because the mold will have leftover powder that can't be spread evenly.
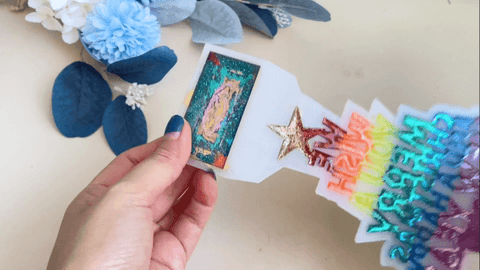
Make sure that you cover the base attachment component, the trunk of the Christmas tree, and the six-pointed star in the middle of the bigger star only.
It is essential that you apply the base coat to the edges and corners of the three portions. Otherwise, you’ll see that the finished project doesn’t look as neat as it could have been if you covered those portions properly.
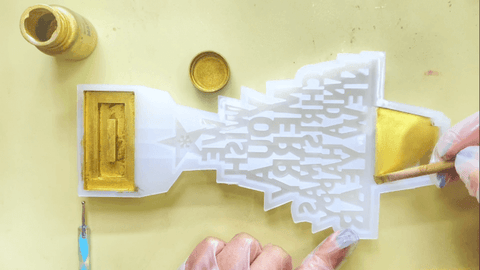
Color the Christmas Tree
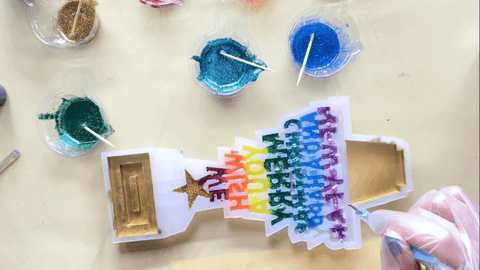
Add glitter powder-tinted resin mixture to the Christmas tree to make it more radiant. Before making this craft, you can prepare each color in a small cup with thin spout, which helps you avoid creating mess by allowing you to control the quantity that you use at a time. Try to use toothpicks for further precision when pouring the mixtures and pour individual tinted resin mixtures in a tiered style.
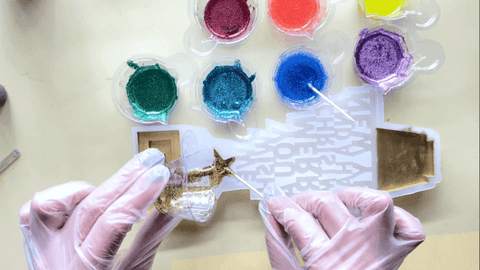
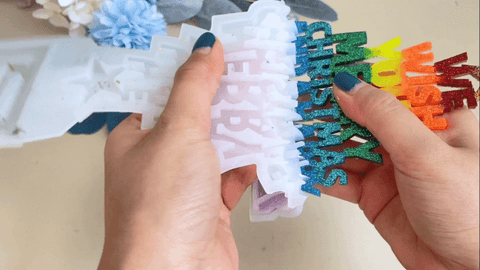
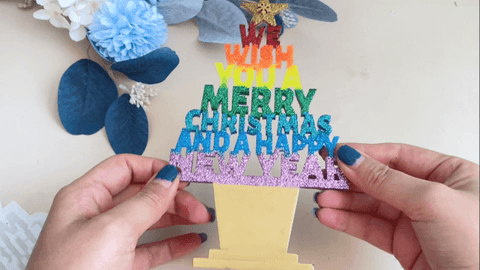
You can start by adding golden resin mixture in the star. Move on to crimson red for WE, followed by orange for WISH, yellow for YOU and A, dark green for MERRY, azure blue for CHRISTMAS, sky blue for AND A HAPPY, and purple for NEW YEAR and the border line. You can try different colors that I didn't used in this tutorial.
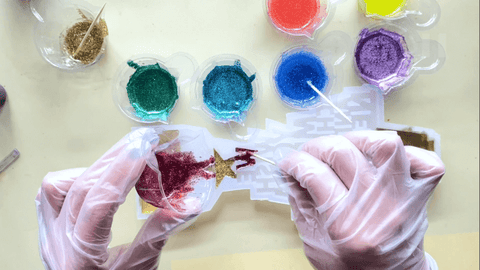
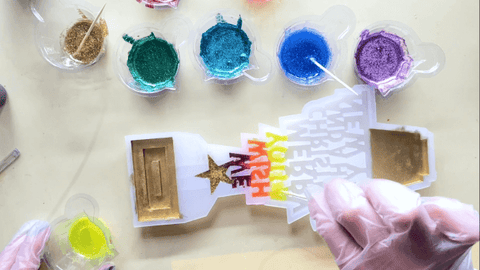
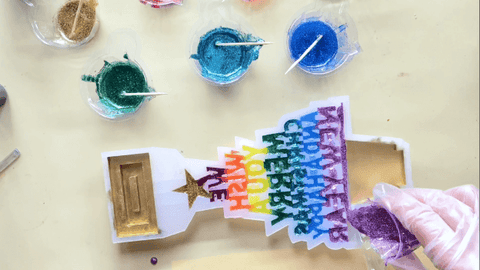
Use a ball-tip needle to spread the resin mixture evenly across the surface. Don’t forget to wear your gloves for safety.
Make Use of the Extra Resin Mixture
Instead of making a new batch of resin for the previously only dry-brushed trunk of the Christmas tree mold, and the base attachment component, you can use the remaining glitter powder-tinted resin mixtures in them. This will help you avoid any waste. Now, leave the mold to cure overnight.
Decorate Your Place with Your Resin Christmas Tree
After about twenty-four hours your resin project has dried completely, carefully demold the base attachment component and the Christmas tree.
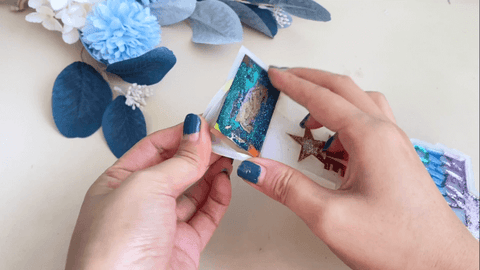
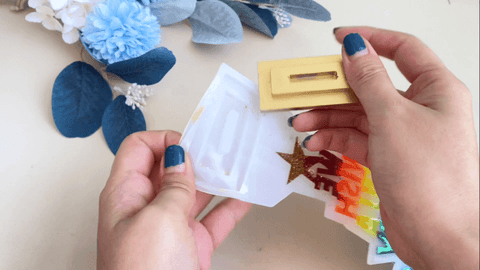
Fix the tree firmly in the cavity provided in the base attachment component.
This Christmas, get your resin Christmas tree supplies and engage in an activity that is as sweet and fun as anything. It is the right moment to spend some great time with your family doing what you love and creating something meaningful!