
Christmas means a lot of food in the house and a lot of crockery lying here and there filled with your favorite stuff. This time, instead of using the same, boring plastic or steel trays, make a fun, Dear Santa Christmas tray out of resin to surprise everyone who visits you during this time.
Supplies Needed
Following is the list of things you require to make your eye-catching Dear Santa Christmas Tray out of resin:
- Silicone Dear Santa Christmas Tray Mold
- Epoxy Resin and Hardener
- Crimson Red, White, Dark Green, Baby Pink, Beige, Peach, Aqua Blue, Dark Blue, Purple, Golden, and Lime Green Mica Powder
- Ball-tip Needle
- Small Cups with Thin Spouts
- Gloves
Step-by-step Instructions
Below are the detailed instructions that you have to follow to make a vibrant resin Dear Santa Christmas Tray:
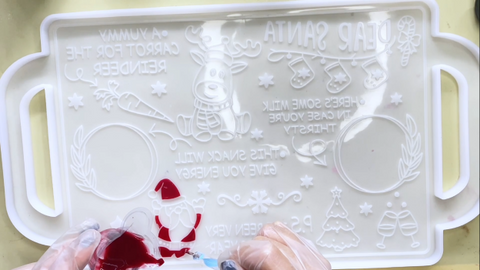
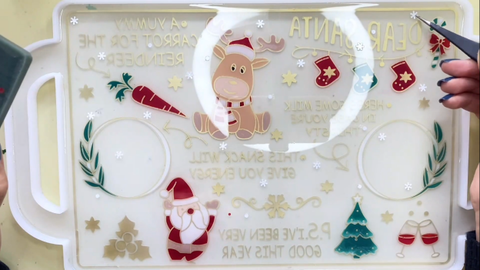
Paint the Cavities
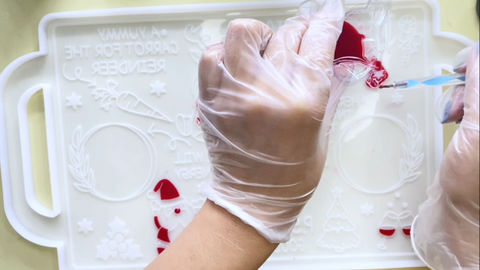
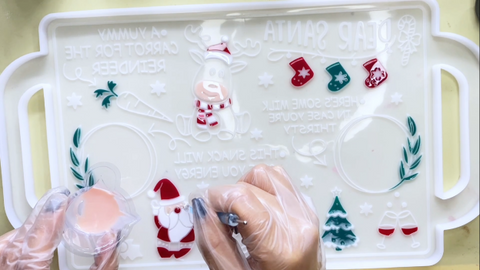
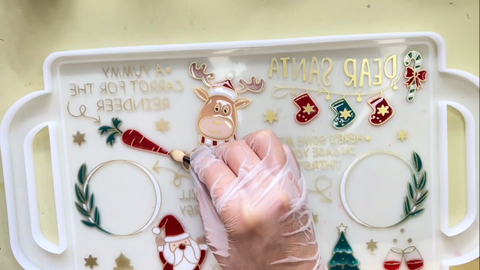
Take your silicone Dear Santa Christmas Tray mold and start coloring it using your tinted resin mixture. Use small cups with thin spouts to pour only what’s needed. You can use a ball-tip needle to be more precise when you are adding the resin mixture, which helps you reach the crevices of the small components so that no spot remains untouched by resin.
Start by crimson red to bring life to the Santa Claus, add wine to the glasses, give the reindeer a Santa hat, a Christmas scarf, and a carrot later on, and to brighten the Christmas stockings.
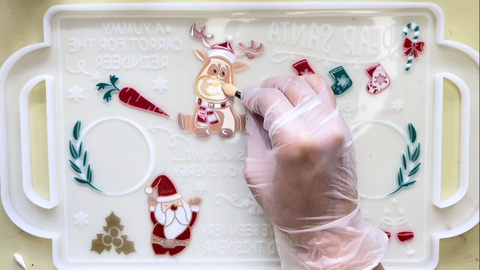
Use white resin mixture to make Santa’s hair, moustache and beard, fill his hat and sleeves, add borders to the Christmas tree, and complete reindeer’s hat and scarf.
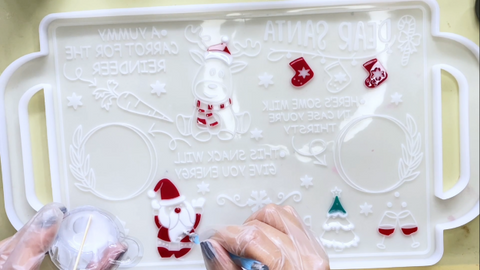
Add green for the Christmas tree, wreath, stocking, and carrot leaves.
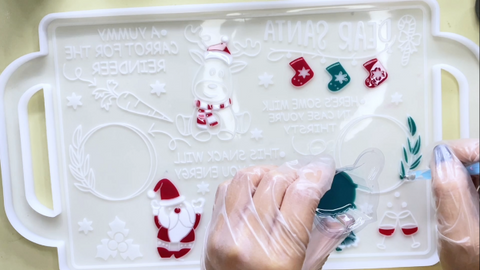
Take baby pink for reindeer’s mouth area and Santa’s face, and beige for reindeer’s antlers and hooves and for Santa’s hands and belt while filling the rest of the reindeer’s body with a creamy peach.

Add Details
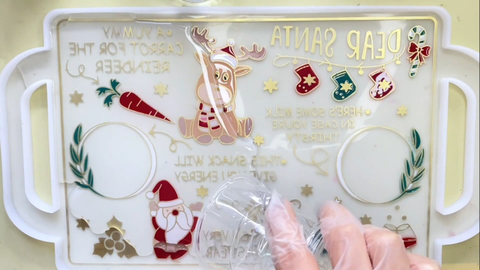
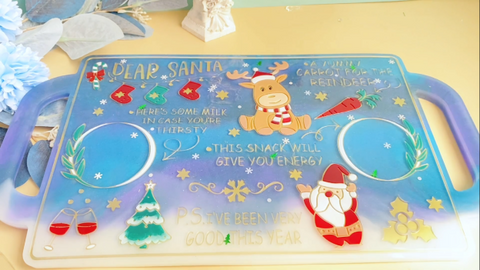
When you are done adding the colors to the tray, you can start the process of adding details to it. For this purpose, take a sponge lip brush and lightly dip it in some golden mica powder.
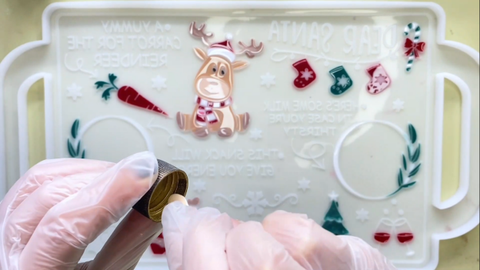
Start by coloring the Christmas Holly golden.
Afterward, move on to brushing the golden mica powder over the raised edges and borders of each element on the tray.
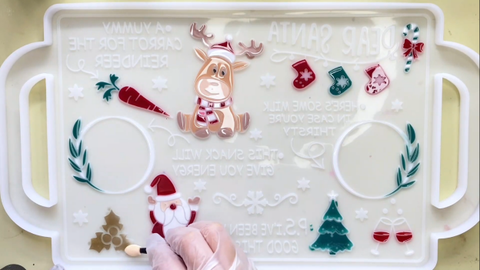
Use it to complete facial features of the reindeer, and for the stars, and the text.
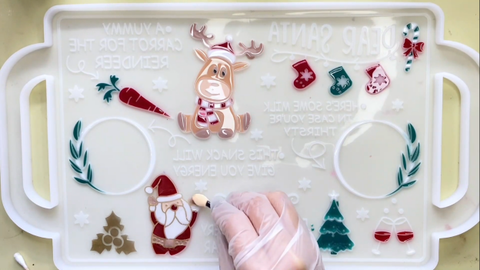
Fill the outer border of the tray with the same golden mica powder. Once you are done adding the details, add a layer of clear resin mixture on top of the tray to seal everything in place and give the tray a glossy finish.
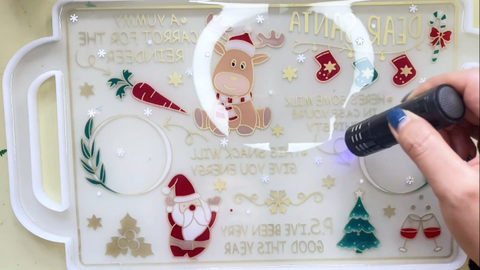
Leave the tray for about three to six hours so it can achieve a gel-like consistency. Use tweezers to dip plastic miniature snowflakes in the glue and then position them on the tray randomly.
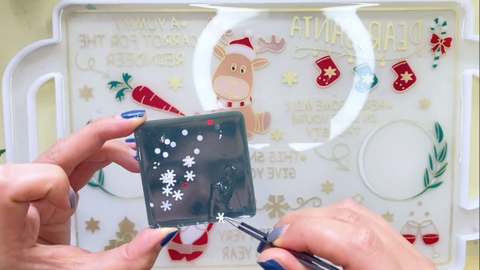
Take resin curing UV flashlight to expediate the process of drying the glue on the snowflakes.
In the end, use lime green resin mixture to add mini Christmas trees here and there.
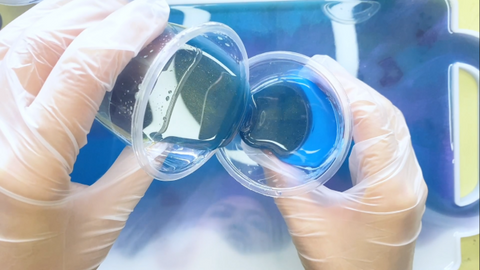
Add the Base Layer
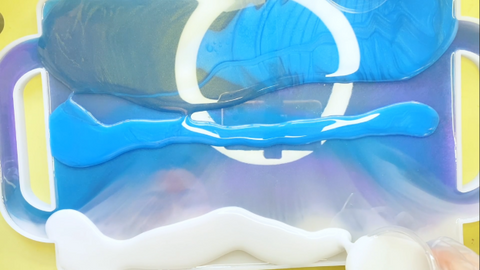
Make the base layer of the tray with a mixture of dark blue, and purple resin. Add golden mica powder in this mixture as well to give the tray a beautiful, shiny dark night sky feels.
Once the base layer has achieved a gel like consistency after being set for about three to six hours, add uneven layers of dark blue, aqua blue, and purple resin mixture.
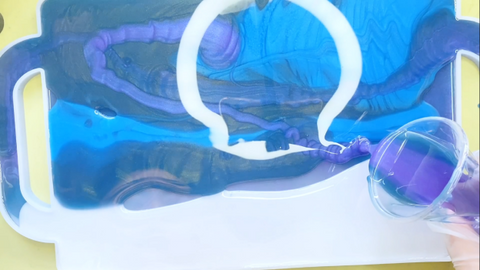
Add white resin mixture at one end of the tray to give the impression of snow on the ground. Leave the tray for about twenty-four hours to fully cure.
Enjoy Your Creation
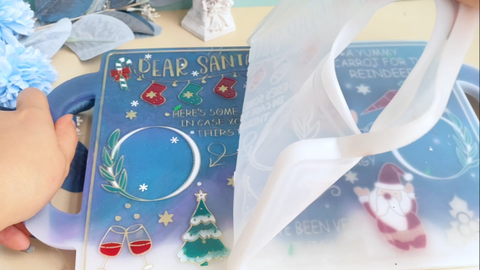
Once your resin Dear Santa Christmas tray has fully cured, demold it carefully and use it on the big, beautiful day.
Put it in your kids’ room or on the dining table to mesmerize everyone who sees it.
This Christmas, say goodbye to boring crockery and bring on the fun with fascinating resin Dear Santa Christmas trays. Get your supplies now and begin your project before it’s too late.