

Christmas is around the corner and you got to have some unique Christmas-themed decorations. Those pieces will make this Christmas the most fresh and unique one than the years before. If this is what you are looking for, have a look at this one-of-a-kind resin Christmas house. In this post, we will walk you through the process of how to make a fascinating resin Christmas house to amaze your children, your friends, and your guests. This can also be a great gift for your children and anyone you love. It might look a little bit difficult to build, but trust me, it’s very easy to make if you follow these steps properly.
What You Will Need
- IntoResin 1:1 Epoxy
- Christmas house mold
- Molds of other small decorations
- Mica powder
- Respirator
- Gloves
- Measuring cups
- Stirring sticks
- UV resin & UV lamp
- Tweezers
- String lights
- Bell ornaments
Instructions to Make A Resin Christmas House
Step 1
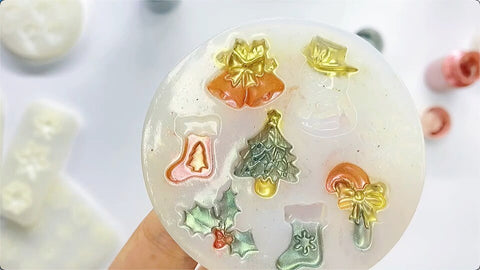
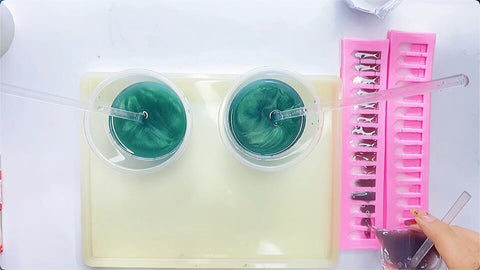
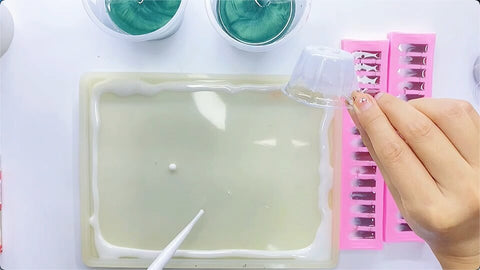
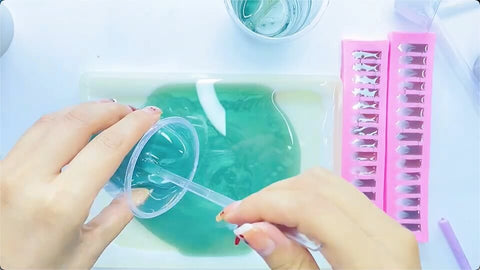
First of all, use pearl powder to paint the mold. Because it is a resin Christmas house, then we use Christmas colors to match the theme. So, we will be using golden, red, and green mica powder. After that, keeping the 1:1 ratio in mind, we stir the epoxy resin slowly and thoroughly for 3 minutes. Then, we’ll add a white coloring agent and stir the mixture until there is no wire drawing. Let it stand for removing bubbles itself and then fill the small decoration molds like snowflakes and Christmas trees.


Step 2
Now, it’s time to fill up the curved part of the roof using white epoxy resin to give it a snowy look. Needless to say, it’s Christmas, therefore, showing glimpses of snowfall in the model can make it look even more beautiful. By the way, we can give the doors and windows of the house a snowy look as well by applying the same resin. However, make sure that the snowfall theme is not very overpowering as snowfall is a subjective Christmas theme. Many places where Christmas gets celebrated don’t get snowfall at this time of the year.


Step 3
For subsequent usage, stir in the dark green pearl powder and pour the resin into a heart mold and a Christmas tree mold after allowing it to release bubbles. Later, use resin mixed with the red and gold glitter to create some gift boxes decorations.


Step 4
Once the epoxy resin snow on the roof, doors and windows has dried out, after we set it aside for 24 hours, pour over the brown epoxy resin on the roof mold and red resin on the house mold. As the upper portion of the fence is filled with white color epoxy resin, fill the lower part with brown epoxy resin. After that, to show snow around the base of the fence, use white epoxy resin, and pour dark green epoxy resin in the middle.


Step 5
Just like every other step, we have to set it aside so that the resins can dry properly. Depending on the room temperature, we’ll have to set it aside for around 24-72 hours so that it gets fully dry. In the next step, we use UV resin on all four walls and later, resemble and harden it using a UV lamp.


Step 6
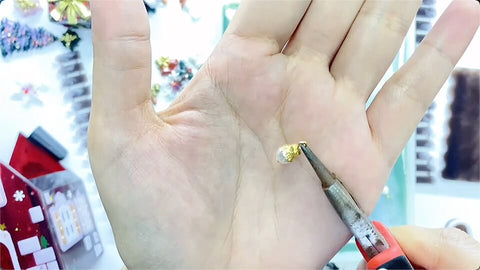
Now it's time to make a pearl flower ball using T needles, pearls, and miniature flower caps to save for later. Later, fix the metal chain to the front of the home with UV resin and then solidify it. Then hang the pearl flower ball we just created on the wall. In the end, UV resin will be used to fix the housing cover, which is then cured.


Step 7
Now we are going to fix the string lights surrounding the base of the house, then fix it with UV resin and harden it. Also, surround three Christmas Trees with another string lights, fix them using UV resin. Then do the same to the house so it can shine too.


Step 8
Let's use glue to fix the stool table on the base and also attach the house that we have successfully assembled at this point. After finished, use a glue gun to attach other accessories like the fence, Christmas tree, and gift boxes to the base. In the end of this step, we can use UV resin to attach a pearl to the door as the door’s handle, and after that, we will harden it.

Step 9
To make the road look attractive, pave it using resin pebble, fix it using UV resin and then cure it. To attach small accessories like gifts, snowman, streetlights, trees, and road signs, we can use a glue gun. In the end, pour a layer of some clear resin to complete the project.


There you have it! Finally we made a beautiful resin Christmas House that you can either use as a showpiece or you can gift to your loved ones. We hope that this tutorial would have been helpful for you to understand and follow. Merry Christmas everyone!

2 comments
I really like the way you describe the post..
click to mine, thanks